
Guides / Create a delivery
Create a delivery and upload
Step 3 of 4 · one delivery per job, one link for your client.
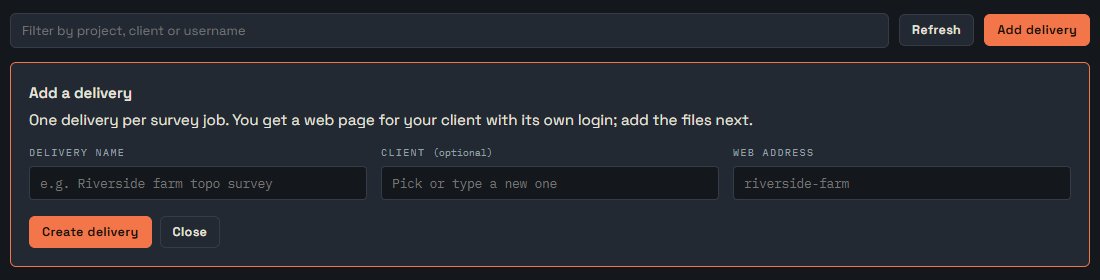
1. Create the delivery
- On the Deliveries tab, press Add delivery.
- Give it a name and pick or type the client.
- Check the web address: it becomes the end of the link (for example
/riverside-farm/). Keep it short. - Press Create delivery. It opens in the editor.
2. Delivery details
- Client username and password: each delivery has its own login. Leave the password blank to make the link open to anyone who has it.
- Downloads expire (optional): on that day the delivery closes and your client sees a polite "get in touch" page. Renew 90 days pushes it out again; the link doesn't change.
3. Upload the files
- Drag your files onto the Files section (see getting your data ready).
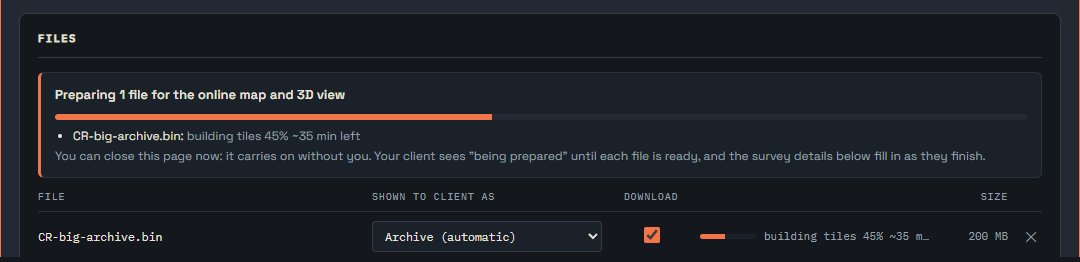
- Each file is checked on your computer first: where it sits on the map and its coordinate system. If something is missing, you're asked before anything uploads.
- Each file has its own progress bar. If the connection drops, drop the same file again: it carries on where it stopped.
- Map and 3D files are then converted automatically. The status panel shows how far along each one is; you can close the page meanwhile.
On each file's line you can choose what it is (for example "Contours" or "Survey report") and untick client can download for files that should only show on the map or in 3D.
4. Survey details
The Survey details section is the information block on your client's page: survey date, sensor, ground resolution, point density, area, coordinate system, accuracy and more. Area, point count and coordinate system fill in by themselves from your files; Fill blanks adds your usual values. Leave a box empty to hide it, then press Save changes.
5. Switch off or delete
- The Open / Close button on each delivery switches it on or off without deleting anything.
- Delete delivery (kept apart at the bottom) removes it and its files. Deleted files can be recovered for 30 days: contact us.
Next: Your client's side →