
Guides / Your client's side
Your client's side
Step 4 of 4 · what your client sees, and sending them the link.
1. Check the client page
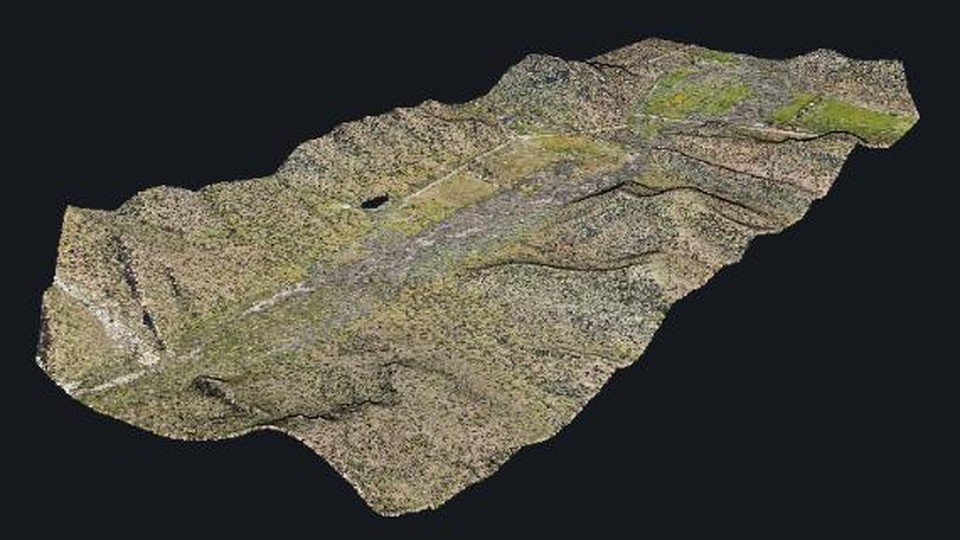
In the delivery, press Open portal to see exactly what your client will see. Check that the map and 3D view line up and that all the downloads are there.
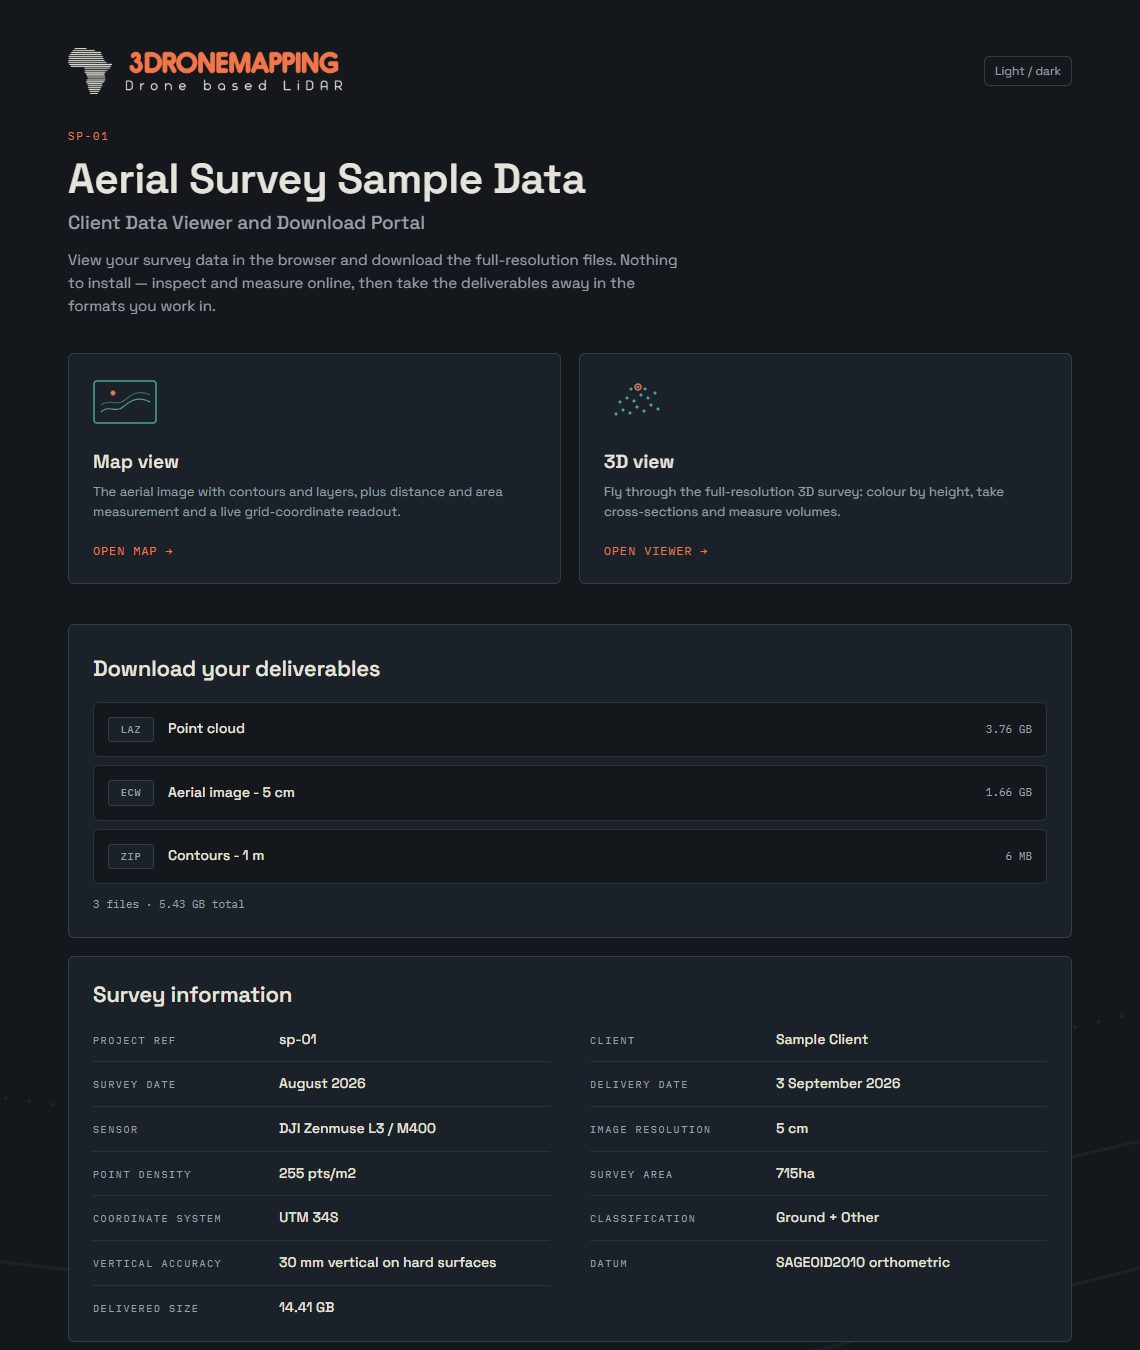
2. What your client can do
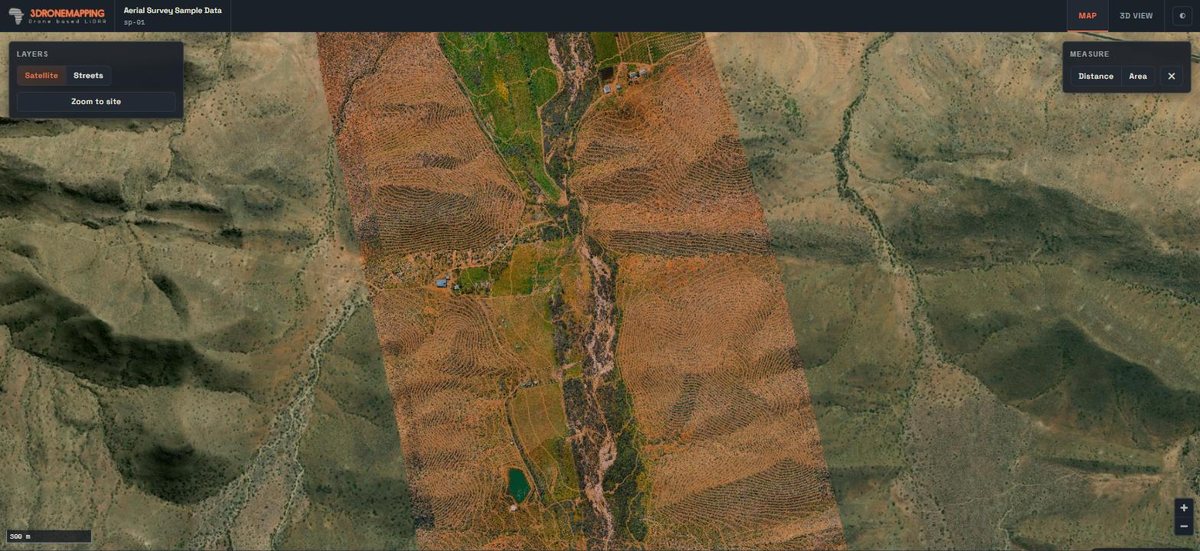
3. Notes on the map
Your client can pin a short note to a place on the map ("this fence line looks off"), so feedback stays with the data instead of in email. You get an email when a note arrives, with a link that opens the map at that spot. Anyone who can open the delivery can add notes and tick them off; you can also read and remove them in the delivery's editor in your console.
Notes are on for deliveries with a client password and off for open ones. Change that per delivery with Notes on the map in the Delivery details.
4. Send the link
- Press Email to client. You see the email before it goes, with the link and, if set, the username and password.
- Press Send email. On Pro and Business it can come from your own email address.
- Or press Copy client email and send it from your own mail program.
The console shows when each delivery was last emailed.
5. Keep your clients in one place
On the Clients tab, press Add client to keep names and email addresses. Pick the client when you create a delivery and the address is filled in for you.
6. After delivery
- Need more time? Change the expiry date or press Renew 90 days. The link and login stay the same.
- Client lost the link? Send the email again; nothing changes on their side.
Going further: your own web address · emails from your own address