
Guides / Set up your company
Set up your company
Step 1 of 4 · about five minutes, once. Everything here is in your console.
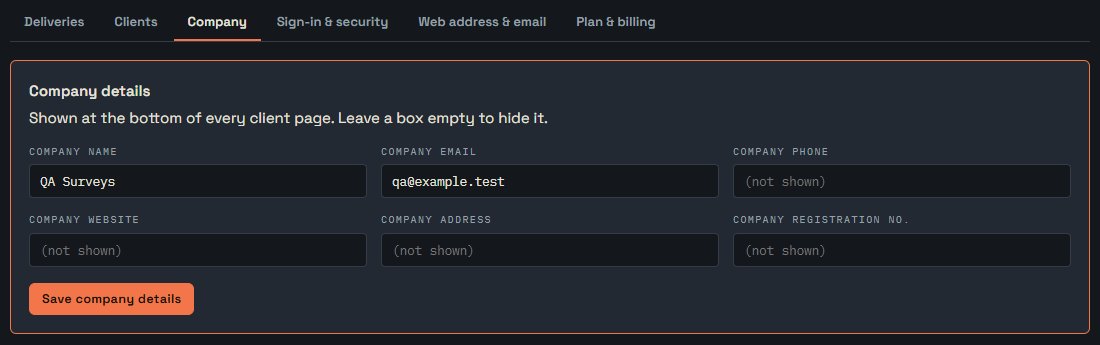
1. Company details
Open the Company tab. Fill in your company name, email, phone, website and address, then press Save company details. They appear at the bottom of every client page; leave a box empty to hide it.
2. Logo and colour
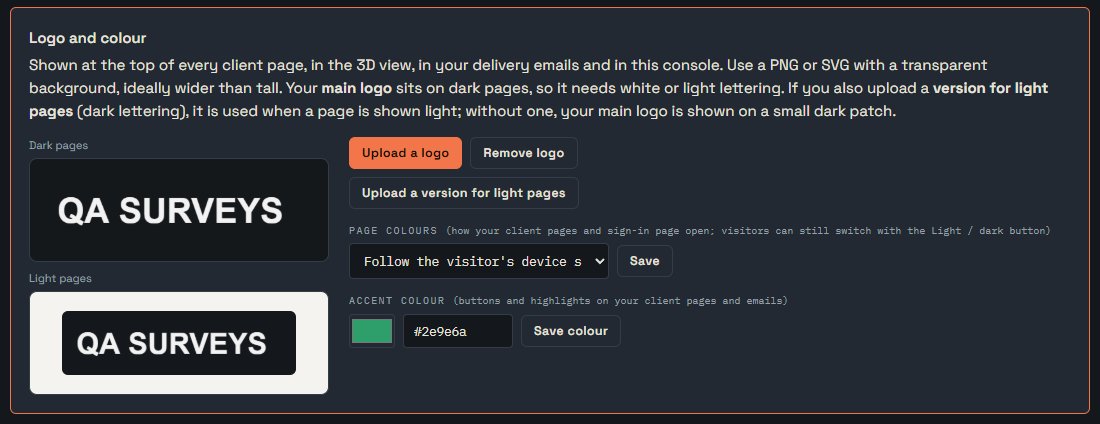
- Press Upload a logo. Use a PNG or SVG with a transparent background, wider than tall. Pages are dark by default, so your main logo needs white or light lettering.
- Optional: Upload a version for light pages with dark lettering. Without it, your logo sits on a small dark patch when a page is shown light.
- Pick your accent colour (buttons and highlights) and press Save colour.
- Choose Page colours: dark, light, or the visitor's own device setting. Visitors can still switch with the Light / dark button.
The two previews show your logo on a dark and on a light page. Changes reach your client pages within a minute or two.
3. Signing in
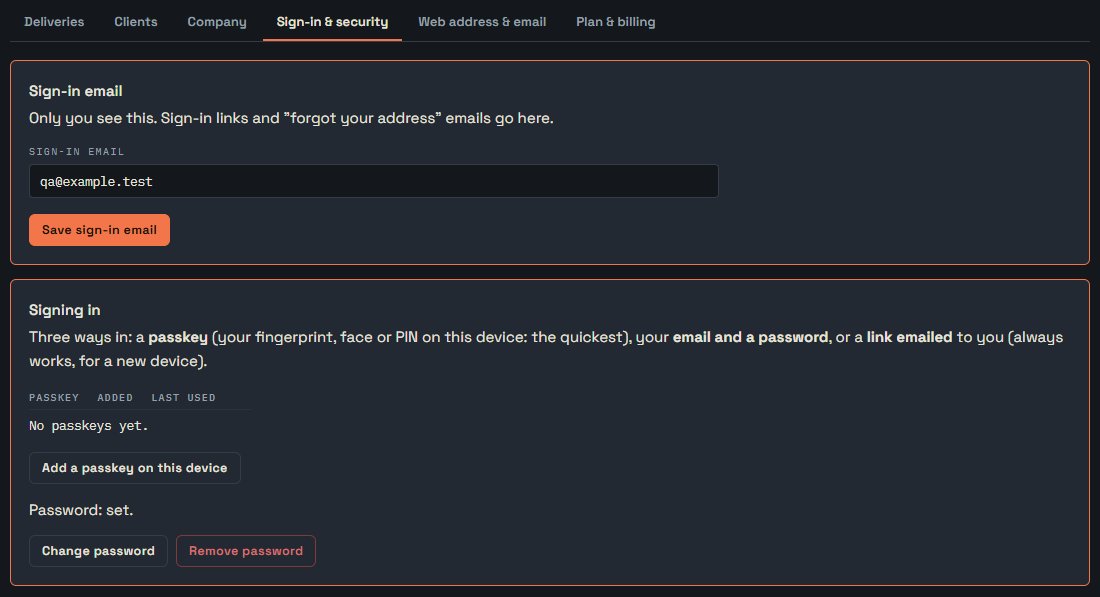
Open Sign-in & security:
- Add a passkey to sign in with your fingerprint, face or device PIN: the quickest and safest way in. Add one on each computer or phone you use.
- Or Set a password (at least 10 characters) if you prefer a classic email and password.
- You can always sign in with a link emailed to your sign-in address too.
Your sign-in email, also on this tab, can differ from the public contact email shown to clients.
Next: Get your data ready →